
As part of this phase in my development workflow, I set out to create a seamless data pipeline: Logstash would extract data from CouchDB, transform it, and push the final result into Elasticsearch. This setup is foundational for many modern applications that require fast and flexible search capabilities on semi-structured data.
However, due to confidentiality and data protection concerns, I couldn’t use the actual data stored in my systems. Instead, I decided to create a realistic simulation of the real-world dataset I typically work with, so I could share and demonstrate the process end-to-end without compromising any sensitive information.
The Simulated Dataset: Headquarters and Branches
Our dataset mimics a typical business structure consisting of two entity types:
- Headquarters: These hold the authoritative company metadata.
- Branches: These are satellite locations or operational units tied back to a headquarters using a shared EIN (Employer Identification Number).
Headquarters Document Structure
{
  "company_name": "Apex Resources LLC",
  "trade_name": "Apex Resources",
  "ein": "97-7705507",
  "incorporation_date": "1996-09-19",
  "duns": "948-900-308",
  "registered_agent_address": {
    "street_number": "9542",
    "street_name": "Cedar Ave",
    "city": "San Jose",
    "state": "CA",
    "zip_code": "82779"
  }
}
Branch Document Structure
{
  "company_name": "",
  "trade_name": "",
  "ein": "97-7705507",
  "incorporation_date": "1996-09-19",
  "duns": "948-900-308-0001",
  "registered_agent_address": {
    "street_number": "5089",
    "street_name": "Hillcrest Rd",
    "city": "Phoenix",
    "state": "AZ",
    "zip_code": "42971"
  }
}
Field Descriptions
- company_name / trade_name: Identifies the business and its trade alias. For branches, these may be empty and inherited from the parent.
- ein: A unique identifier shared across headquarters and their branches.
- incorporation_date: The founding date of the entity (copied from HQ to branch).
- duns: A D-U-N-S number, extended with a suffix in the case of branches.
- registered_agent_address: A structured representation of the entity’s physical address.
Understanding this schema is key to the transformations we will perform with Logstash later on.
Populating CouchDB with Test Data
Before we design the ETL pipeline, we need data in place. So we’ll make a brief detour to demonstrate how to populate CouchDB using simulated data.
While your certificates might be managed by a setup container inside Docker (as is my case), we can still push documents using HTTPS by disabling certificate verification in our development script. This should only be done in local or trusted environments.
Download the Sample Data
You can download the JSON files used in this example here:
Python Script to Insert Data
import json
import couchdb

# Connection parameters
COUCHDB_PROTOCOL = 'http'
COUCHDB_HOST     = 'localhost'
COUCHDB_PORT     = '5984'
COUCHDB_USER     = 'changeme'
COUCHDB_PASS     = 'changeme'
DB_NAME          = 'company'

server = couchdb.Server(
   f'{COUCHDB_PROTOCOL}://{COUCHDB_USER}:{COUCHDB_PASS}@{COUCHDB_HOST}:{COUCHDB_PORT}/'
)
if DB_NAME not in server:
    server.create(DB_NAME)
db = server[DB_NAME]

with open('headquarters.json', 'r', encoding='utf-8') as f:
    docs = json.load(f)
with open('branches.json', 'r', encoding='utf-8') as f:
    docs += json.load(f)

for doc in docs:
    doc['_id'] = doc['duns']

results = db.update(docs)

for success, docid, rev_or_exc in results:
    if success:
        print(f'OK:   {docid} → {rev_or_exc}')
    else:
        print(f'FAIL: {docid} → {rev_or_exc}')
Building the Logstash Pipeline: From CouchDB to Elasticsearch
With our simulated data loaded and CouchDB running over HTTPS, it’s time to construct the ETL pipeline using Logstash.
Logstash will serve as a bridge between CouchDB and Elasticsearch, performing three key tasks:
- Extract: Pull documents from CouchDB using the
couchdb_changesinput plugin. - Transform: Adjust document structure as needed — e.g., normalize missing fields in branches.
- Load: Push the transformed documents into an Elasticsearch index for search and analytics.
Logstash Pipeline Configuration
Create a new pipeline file, for example: logstash.conf.
input {
   couchdb_changes {
      db       => "company"
      host     => "couchdb"
      port     => 6984
      secure   => true
      username => "${COUCHDB_USER}"
      password => "${COUCHDB_PASSWORD}"
      ca_file  => "/usr/share/logstash/certs/ca/ca.crt"
   }
}

filter {
   if [doc][duns] =~ /^.{11,}$/ {
      mutate {
         rename => {
            "[doc][duns]"                                    => "id"
            "[doc][company_name]"                            => "company"
            "[doc][trade_name]"                              => "trade"
            "[doc][registered_agent_address][street_number]" => "street_number"
            "[doc][registered_agent_address][street_name]"   => "street_name"
            "[doc][registered_agent_address][city]"          => "city"
            "[doc][registered_agent_address][zip_code]"      => "zip_code"
            "[doc][registered_agent_address][state]"         => "state"
         }
         remove_field => [ "[doc]", "[doc_as_upsert]" ]
      }
      if ![company] or ([company] == "") {
         mutate {
            remove_field => [ "company" ]
         }
         mutate {
            add_field => { "company" => "NO_COMPANY" }
         }
      }
      if ![trade] or ([trade] == "") {
         mutate {
            remove_field => [ "trade" ]
         }
         mutate {
            add_field => { "trade" => "NO_TRADE" }
         }
      }
      if [street_name] {
         mutate {
            strip        => [ "street_number", "street_name", "city", "zip_code", "state"]
            add_field    => { "address" => "%{street_number} %{street_name} %{city}, %{state} %{zip_code}" }
            remove_field => [ "street_number", "street_name", "city", "zip_code", "state" ]
         }
      }
   }
}

output {
   elasticsearch {
      hosts       => ["${ELASTIC_HOSTS}"]
      index       => "company_idx"
      document_id => "%{id}"
      user        => "${ELASTIC_USER}"
      password    => "${ELASTIC_PASSWORD}"
      ssl_enabled => true
      ssl_certificate_authorities => ["/usr/share/logstash/certs/ca/ca.crt"]
   }

   stdout { codec => rubydebug }
}
Understanding the Logstash Configuration
Let’s break down the key parameters used in the logstash.conf so you know exactly what each one does.
🔹 input Section — couchdb_changes Plugin
The couchdb_changes input plugin in Logstash is designed to tap directly into CouchDB’s _changes feed, a special API endpoint that continuously reports inserts, updates, and deletions happening in the database. Instead of pulling full snapshots of data at fixed intervals, this plugin streams changes in real time, which makes it highly efficient and reliable for ETL pipelines. By keeping track of sequence numbers, it can also resume from the last processed point after restarts, avoiding duplication or data loss. In practice, this means any document added or modified in CouchDB is immediately captured by Logstash and becomes available for transformation and indexing into Elasticsearch.
Now, let’s walk through the configuration of the couchdb_changes plugin in our pipeline.
input {
    couchdb_changes {
       db       => "company"
       host     => "couchdb"
       port     => 6984
       secure   => true
       username => "${COUCHDB_USER}"
       password => "${COUCHDB_PASSWORD}"
       ca_file  => "/usr/share/logstash/certs/ca/ca.crt"
    }
}
| Parameter | Description |
|---|---|
db | CouchDB database to watch for document changes. |
host | Host/container where CouchDB runs (Docker service name here). |
port | Listening port; 6984 for HTTPS in this setup. |
secure | Enables TLS/SSL. |
username | CouchDB username (from environment variable). |
password | CouchDB password (from environment variable). |
ca_file | Path to CA certificate used to validate CouchDB’s TLS cert. |
🔹 filter Section — Data Transformation
filter {
  if [doc][duns] =~ /^.{12,}$/ {
    mutate {
      rename => {
        "[doc][duns]"                                    => "id"
        "[doc][company_name]"                            => "company"
        "[doc][trade_name]"                              => "trade"
        "[doc][registered_agent_address][street_number]" => "street_number"
        "[doc][registered_agent_address][street_name]"   => "street_name"
        "[doc][registered_agent_address][city]"          => "city"
        "[doc][registered_agent_address][zip_code]"      => "zip_code"
        "[doc][registered_agent_address][state]"         => "state"
      }
      remove_field => [ "[doc]", "[doc_as_upsert]" ]
    }
    if ![company] or ([company] == "") {
         mutate {
            remove_field => [ "company" ]
         }
         mutate {
            add_field => { "company" => "NO_COMPANY" }
         }
      }
      if ![trade] or ([trade] == "") {
         mutate {
            remove_field => [ "trade" ]
         }
         mutate {
            add_field => { "trade" => "NO_TRADE" }
         }
      }    if [street_name] {
      mutate {
        strip        => [ "street_number", "street_name", "city", "zip_code", "state" ]
        add_field    => { "address" => "%{street_number} %{street_name} %{city}, %{state} %{zip_code}" }
        remove_field => [ "street_number", "street_name", "city", "zip_code", "state" ]
      }
    }
  }
}
This section uses the mutate filter to reshape the incoming document structure.
rename: Moves fields from inside the[doc]object to the root level, matching Elasticsearch’s target schema.remove_field: Cleans up unwanted fields likedoc_as_upsertand the original[doc].add_field/replace: Fills defaults (NO_COMPANY,NO_TRADE) for missing values.strip: Trims whitespace from address parts.address: Builds a single, human-readable address string.
🔹 output Section — Sending Data to Elasticsearch
The elasticsearch output plugin is the most common way to send data from Logstash into Elasticsearch. It allows you to define which index the documents will be written to, how the document IDs are generated, and ensures data is transmitted securely over HTTPS with authentication and TLS. With this plugin, Logstash can handle both new document inserts and updates, depending on whether a deterministic document_id is provided. It also supports features like index templates, retry mechanisms, and bulk indexing, making it highly optimized for production pipelines where both performance and reliability matter.
output {
  elasticsearch {
    hosts                       => ["${ELASTIC_HOSTS}"]
    index                       => "company_idx"
    document_id                 => "%{id}"
    user                        => "${ELASTIC_USER}"
    password                    => "${ELASTIC_PASSWORD}"
    ssl_enabled                 => true
    ssl_certificate_authorities => ["/usr/share/logstash/certs/ca/ca.crt"]
  }

  stdout { codec => rubydebug }
}
| Parameter | Description |
|---|---|
hosts | Elasticsearch node(s) to connect to (provided via env var). |
index | Target index name. |
document_id | Deterministic ID (here from id/DUNS) to upsert instead of duplicating. |
user / password | Elasticsearch credentials. |
ssl_enabled | Enables TLS/SSL when talking to Elasticsearch. |
ssl_certificate_authorities | CA certificate(s) to validate Elasticsearch’s TLS cert. |
stdout { codec => rubydebug } | Prints transformed events to the console for debugging. |
✅ Pro Tip: Store credentials and endpoints in environment variables—safer and much easier to manage across environments.
Validating Data Flow into Elasticsearch
With the pipeline running, the next step is to ensure that documents are arriving correctly in Elasticsearch and being transformed as expected.
We’ll run a few simple checks using curl against the Elasticsearch API.
1) Checking Index Existence
curl -s -u elastic:${ELASTIC_PASSWORD} \
     --cacert /usr/share/logstash/certs/ca/ca.crt \
     https://es01:9200/_cat/indices?v
This will output a table of all indices. You should see something like:
health status index        uuid                   pri rep docs.count docs.deleted store.size pri.store.size dataset.size
yellow open   company_idx  _kBS5JTrRWW17cWLBaNbrA   1   1       2000            0    603.9kb        603.9kb      603.9kb
2) Searching for Documents
curl -s -u elastic:${ELASTIC_PASSWORD} \
     --cacert /usr/share/logstash/certs/ca/ca.crt \
     https://es01:9200/company_idx/_search?pretty
If everything is correct, you should see your HQ and branch documents with normalized fields like company, trade, address, and a proper id.
{
  "took" : 6,
  "timed_out" : false,
  "_shards" : {
    "total" : 1,
    "successful" : 1,
    "skipped" : 0,
    "failed" : 0
  },
  "hits" : {
    "total" : {
      "value" : 2000,
      "relation" : "eq"
    },
    "max_score" : 1.0,
    "hits" : [
      {
        "_index" : "company_idx",
        "_id" : "138-827-133-0001",
        "_score" : 1.0,
        "_source" : {
          "duns" : "138-827-133-0001",
          "address" : "3064 Main St Chicago, IL 74549",
          "trade" : "Future Systems - IL",
          "@version" : "1",
          "company" : "Future Systems Co. - IL Branch",
          "@timestamp" : "2025-08-09T19:20:10.111902574Z"
        }
      },
      [...]
    ]
  }
}
3) Searching by DUNS
Since every record has DUNS property, we can query all related documents:
curl -s -u elastic:${ELASTIC_PASSWORD} \
     --cacert /usr/share/logstash/certs/ca/ca.crt \
     "https://es01:9200/company_idx/_search?q=duns:%22678-484-418-0002%22&pretty"
This should return the following:
{
  "took" : 238,
  "timed_out" : false,
  "_shards" : {
    "total" : 1,
    "successful" : 1,
    "skipped" : 0,
    "failed" : 0
  },
  "hits" : {
    "total" : {
      "value" : 1,
      "relation" : "eq"
    },
    "max_score" : 17.950874,
    "hits" : [
      {
        "_index" : "company_idx",
        "_id" : "678-484-418-0002",
        "_score" : 17.950874,
        "_source" : {
          "@timestamp" : "2025-08-12T10:58:05.836496869Z",
          "address" : "2069 Sunset Blvd Chicago, IL 26334",
          "company" : "NO_COMPANY",
          "@version" : "1",
          "trade" : "NO_TRADE",
          "duns" : "678-484-418-0002"
        }
      }
    ]
  }
}
Setting up Kibana for Visualization
With Elasticsearch populated, Kibana can now be used to explore and visualize
the dataset.
Step 1 — Create Self-Monitoring Area
- Log into Kibana using your browser.
- You´ll be redirected to the Kibana´s 1st Access page.

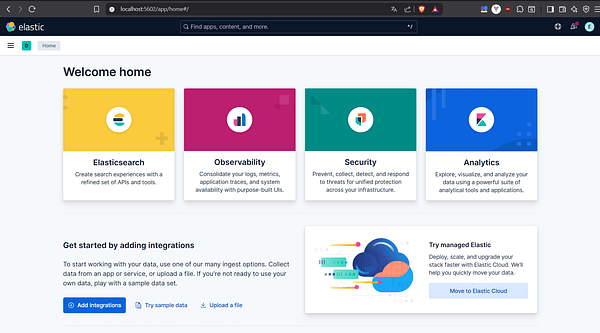
- Clicking Explore on my own will take you to the Kibana Home page.

- Navigate to Stack Management → Stack Monitoring.

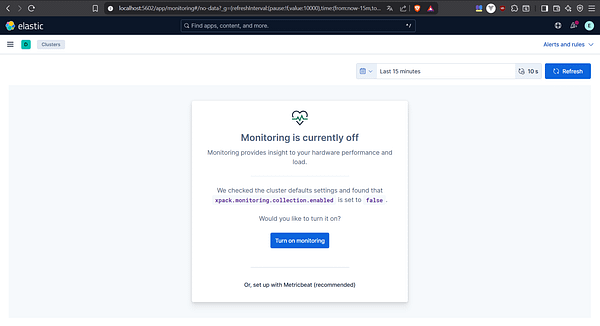
- You´ll be redirected to the Kibana´s Stack Monitoring Setup page.

- Clicking Or, set up with self monitoring will take you to the Kibana Turn On Monitoring page.

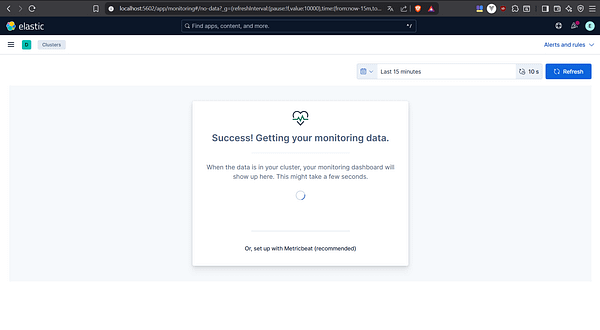
- The monitoring setup will be completed.

- You´ll be redirected to the Kibana Cluster Overview page.
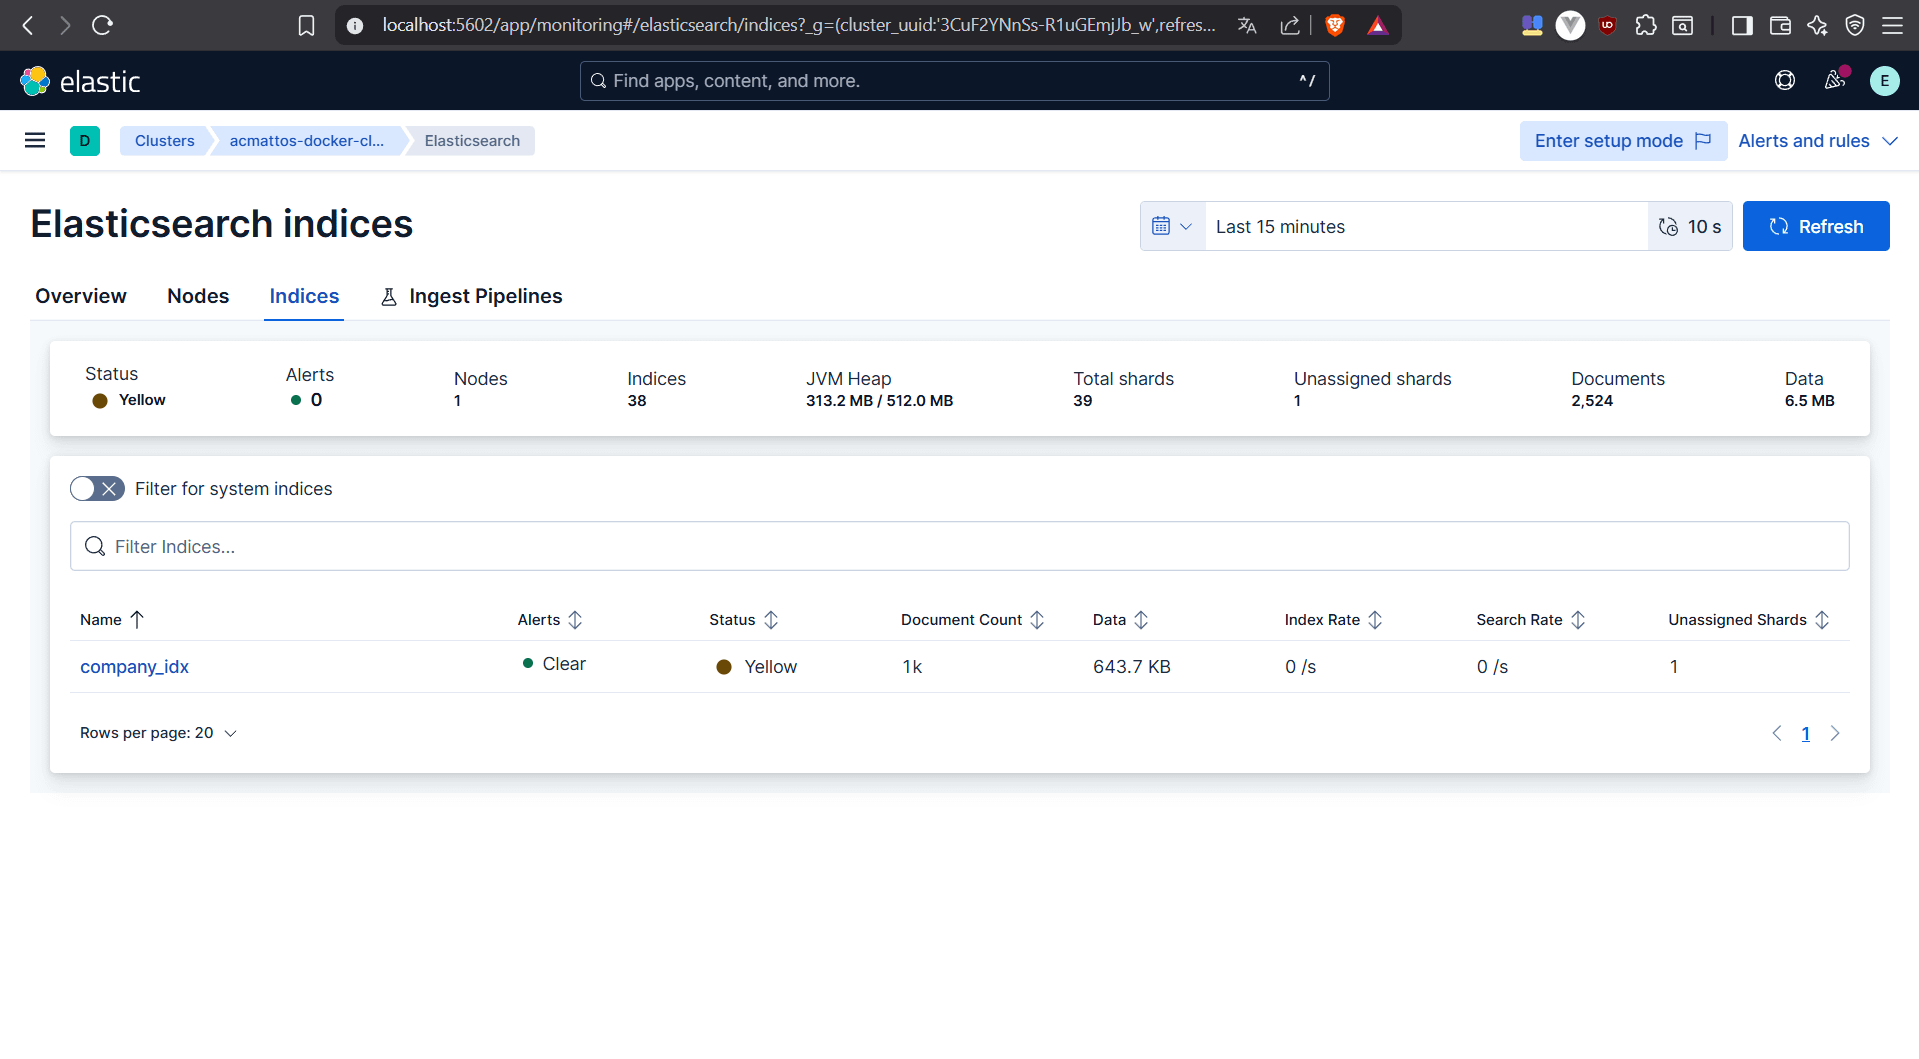
- Clicking Indices: 38 will take you to the Kibana´s Elasticsearch Indices page.


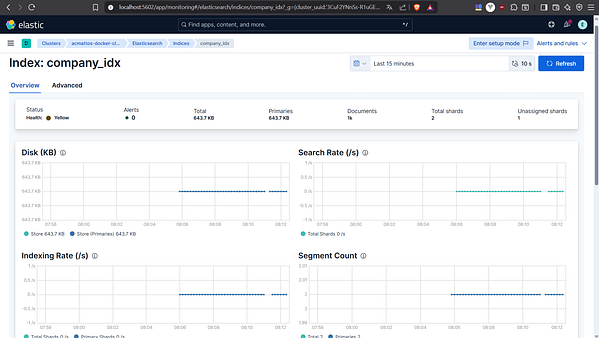
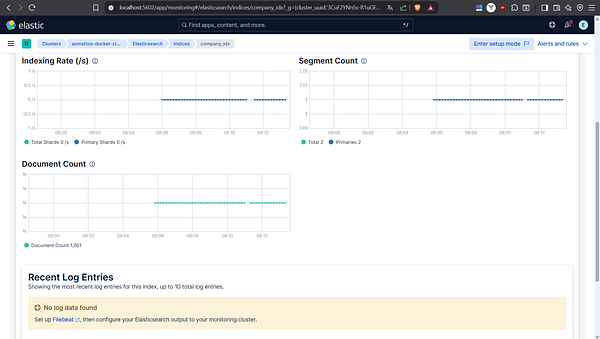
- Clicking company_idx will take you to the Kibana Index page.


Step 2 — Explore the Data
- Navigate to Dev Tools in Kibana.

- You’ll be redirected to the Kibana Dev Tools Console page.
- Type a query
GET /company_idx/_search?q=duns:"678-484-418-0002"and press
Enter to run it. The result will be displayed in the Dev Tools Console.


Kibana will let you interactively explore, filter, and visualize company data.
Conclusion
Part 2 is over. Congratulations! In this stage of my DevOps journey, I managed to design and implement a complete ETL pipeline that securely connects CouchDB to Elasticsearch through Logstash, transforming semi-structured business data into a format ready for search and analytics.
You can download a version of the code showcased in this article from my GitHub repository.
If you want to review the setup process, take a look at the Part 1. Thank you for reading this article!


0 Comments